Dinner

Chicken Tinga Tinga Tacos


If there is one cuisine I can have over and over again, it would be Mexican. I love the combination of flavors , from the salt to the sweet and heat, everything comes together in a perfect harmony. These Chicken Tinga Tinga tacos are the perfect example! 

I dare you to eat just one! From the spicy sauce to the layer of toppings, this is the taco recipe you didn't know you needed! 

The sauce is made with adobo peppers, and fire roasted tomatoes that gives a kick and a layer a sweetness to the sauce. Top a nice bowl of rice, or drizzle some on your morning eggs! Delicious!!

MY Portuguese Mother // Chicken Tinga Tinga Tacos
 
My Portuguese Mother // Chicken Tinga Tinga Tacos
 
edited9171529B-6B85-40FA-81A0-E90FA6EE1B1B.jpg
 

Ingredients 

Tacos :

  • 1 tablespoon olive oil

  • 1 cup sweet onion roughly chopped

  • 2 cloves garlic, minced

  • 1–2 chipotle peppers in adobo sauce, chopped

  • 1 teaspoon dried oregano

  • 1/2 teaspoon ground cumin

  • 3/4 cup canned crushed fire-roasted tomatoes

  • 1/4 cup chicken stock

  • 1/2 teaspoon kosher salt

  • 3 cups rotisserie chicken shredded

For serving :

  • Corn tortillas

  • 2 ripe avocados, sliced

  • 1/4 cup chopped fresh cilantro

  • 1/2 cup pico de gallo

  • crumbled cotija

  • 1 lime, cut into wedges

Recipe

  1. Heat a large skillet over medium. Once warm, add the oil and onion. Sauté for 4 minutes or until tender, stirring occasionally. Add in the garlic and cook for an additional 30 seconds. Stir in the chipotles, oregano, and cumin, and toast for 1 minute. Add in the tomatoes, stock, and salt. Bring to a simmer, and cook for 7 minutes.

  2. Place the tomato mixture in a high-powered or regular blender, and blend until smooth.

  3. Return the blended sauce to the pan over low heat. Add the shredded chicken, and cook for 5 minutes and season to taste.

  4. Prepare the garnishes. Warm your tortillas over an open flame on your stove top. Smash your avocados in a bowl, and squeeze lime and season with salt.

  5. Assemble your tacos, add the avocado, chicken, then top off with pico de gallo, cheese and cilantro. Serve with a lime wedge.

    Recipe from Pinch of Yum


Piri - Piri Chicken & Crispy Potato Chips

One of the most classic Portuguese dishes is Frango Assado [Roasted Chicken].

Served with a side of rice, or crispy potato chips, this signature meal is found on every menu in Portugal. What makes it so famous is the way it is prepared, with lemon, olive oil, garlic, and the secret ingredient, Piri-Piri.

Piri-Piri peppers made their way to Portugal by ships from Mozambique and Angola, former colonies of Portugal. These hot peppers soon become a staple in many Portuguese dishes such as this one.

The peppers add a fiery note to this chicken that you’ll be wondering why you haven’t tried them out before.

They are also known as birds eye chili and are easily found in Portuguese specialty stores, but if you can't find them, substitute them for regular chilies, or cayenne pepper.

My Portuguese Mother // Piri - Piri Chicken
My Portuguese Mother // Potato Chips
 

Ingredients 

  • 1 whole chicken, spatchocked

Piri- Piri Sauce

  • 10 Piri-Piri Peppers (red eye or any other red chili peppers)

  • 100 ml olive oil

  • 4 garlic cloves, minced

  • 2 tsp. paprika

  • Salt & Pepper

  • Large bunch of parsley, plus more for serving

Crispy Potato Chips

  • 1½ pounds russet

  • Ice water

  • Vegetable oil, for frying

  • Salt and pepper

Recipe

Piri- Piri Sauce & Chicken

  1. Mix the chilies, olive oil, garlic, paprika, parsley, and salt and pepper, until it is all combined. Using a blender, blend half the mixture for the marinade, and preserve the half unblended mixture for basting.

  2. Place the chicken breast side down. Using kitchen scissors, cut the right side of the backbone, and repeat along the left side. ( you may save the backbone for future chicken stock or discard). Open the chicken, and turn over. Flatten the breastbone with the heel of your hand so that the meat is all one thickness.

  3. Place the chicken in a plastic bag or in a  large tray, pour half of the sauce over the chicken and allow it to marinade for an hour.

  4. Preheat the oven to 350 F.

  5. Place the chicken on a baking tray. Tuck the wings under the body of the chicken.

  6. Roast the chicken for a 1-1 ½ hour. For the last few minutes, turn on the broiler to crisp the skin of the chicken. Keep a close eye so the skin does not burn.

  7. Remove from the oven, baste with the remaining sauce.

  8. Garnish with leftover parsley, serve alongside, crispy fries, salad or rice.

 Crispy Potato Chips

  1. Using a mandoline or sharp knife, carefully slice potatoes about ⅛” thick. Place them in a large bowl of ice water. Allow the potatoes to sit for 30 minutes. Once the 30 minutes are done, drain, and pat dry.

  2. Heat up a heavy pot with a thermometer; pour in oil. Heat over medium-high until thermometer reaches 300°F.

  3. Working in batches, fry until golden brown and crisp, turning occasionally for an even cook, about 5-7 minutes per batch. Using a slotted spoon, transfer to a paper towel–lined wire rack. Season with salt and pepper.


Pulled Pork

 Happy Friday!

I have your weekend plans covered with a delicious and juicy roasted pulled pork shoulder!

Dry rubbed with paprika, mustard and brown sugar; these spices create a crispy crust.

After cooling, and pulling apart, the pork is submerged in its juices, rehydrating the meat.

This recipe allows you to create a variety of dishes, like pulled pork sandwiches topped with pickled red onions and your slaw of choice, tacos or just as a topping on a nice bowl of rice!

JPEG image-AEE0F81F4340-2.jpeg
JPEG image-AEE0F81F4340-1.jpeg
JPEG image-AEE0F81F4340-3.jpeg
JPEG image-AEE0F81F4340-4.jpeg
JPEG image-AEE0F81F4340-6.jpeg
JPEG image-AEE0F81F4340-7.jpeg
 

Ingredients 

  • 1 (5-7 lb.)  pork shoulder

  • 3 tbsp. paprika

  • 3 tbsp. Sea salt

  • 1 tbsp. garlic powder

  • 1 tbsp. brown sugar

  • 1 tbsp. dry mustard

Recipe

  1. Mix the paprika, garlic powder, brown sugar, dry mustard, and salt together in a small bowl. Rub the spice mixture all over the pork. Cover and refrigerate it for at least 1 hour, preferably overnight.

  2. Preheat the oven to 300° F. Place the pork in a roasting pan and roast it for about 6 hours, or until the pork is falling apart.

  3. Once the pork is done, transfer the meat to a larger platter and allow it to rest for about 10 minutes.

  4. While the pork is resting, deglaze the pan with ¾ cup of water over medium heat. Using a wooden spoon, scrape all the browned bits, and allow the juices to reduce by half. Once reduced, pour the remaining juices into a saucepan, and cook for 5-7 minutes.

  5. Grab two forks, and pull shreds of the meat off the pork shoulder. Put the shredded meat in a large bowl, and pour half the sauce over it. Stir well until all the pork is coated with the sauce.

  6. At this point you may add any barbecue sauce, serve as is in tacos, or burgers.


Caldo Verde

Caldo Verde

Caldo Verde is one of the most well known and delicious traditional portuguese dishes.

I ate a lot of soup growing up, and one of my absolute favorites was Caldo Verde. Best served with a side of bread and extra chorizo, this savory soup will warm up any day – or night!!

This real Caldo Verde soup is made with Portuguese kale ,but it can also be made with regular collard greens. Topped with chorizo, this flavorful and easy to make soup is perfect for those cold winter nights or a quick weeknight meal!

Fresh Pasta Dough

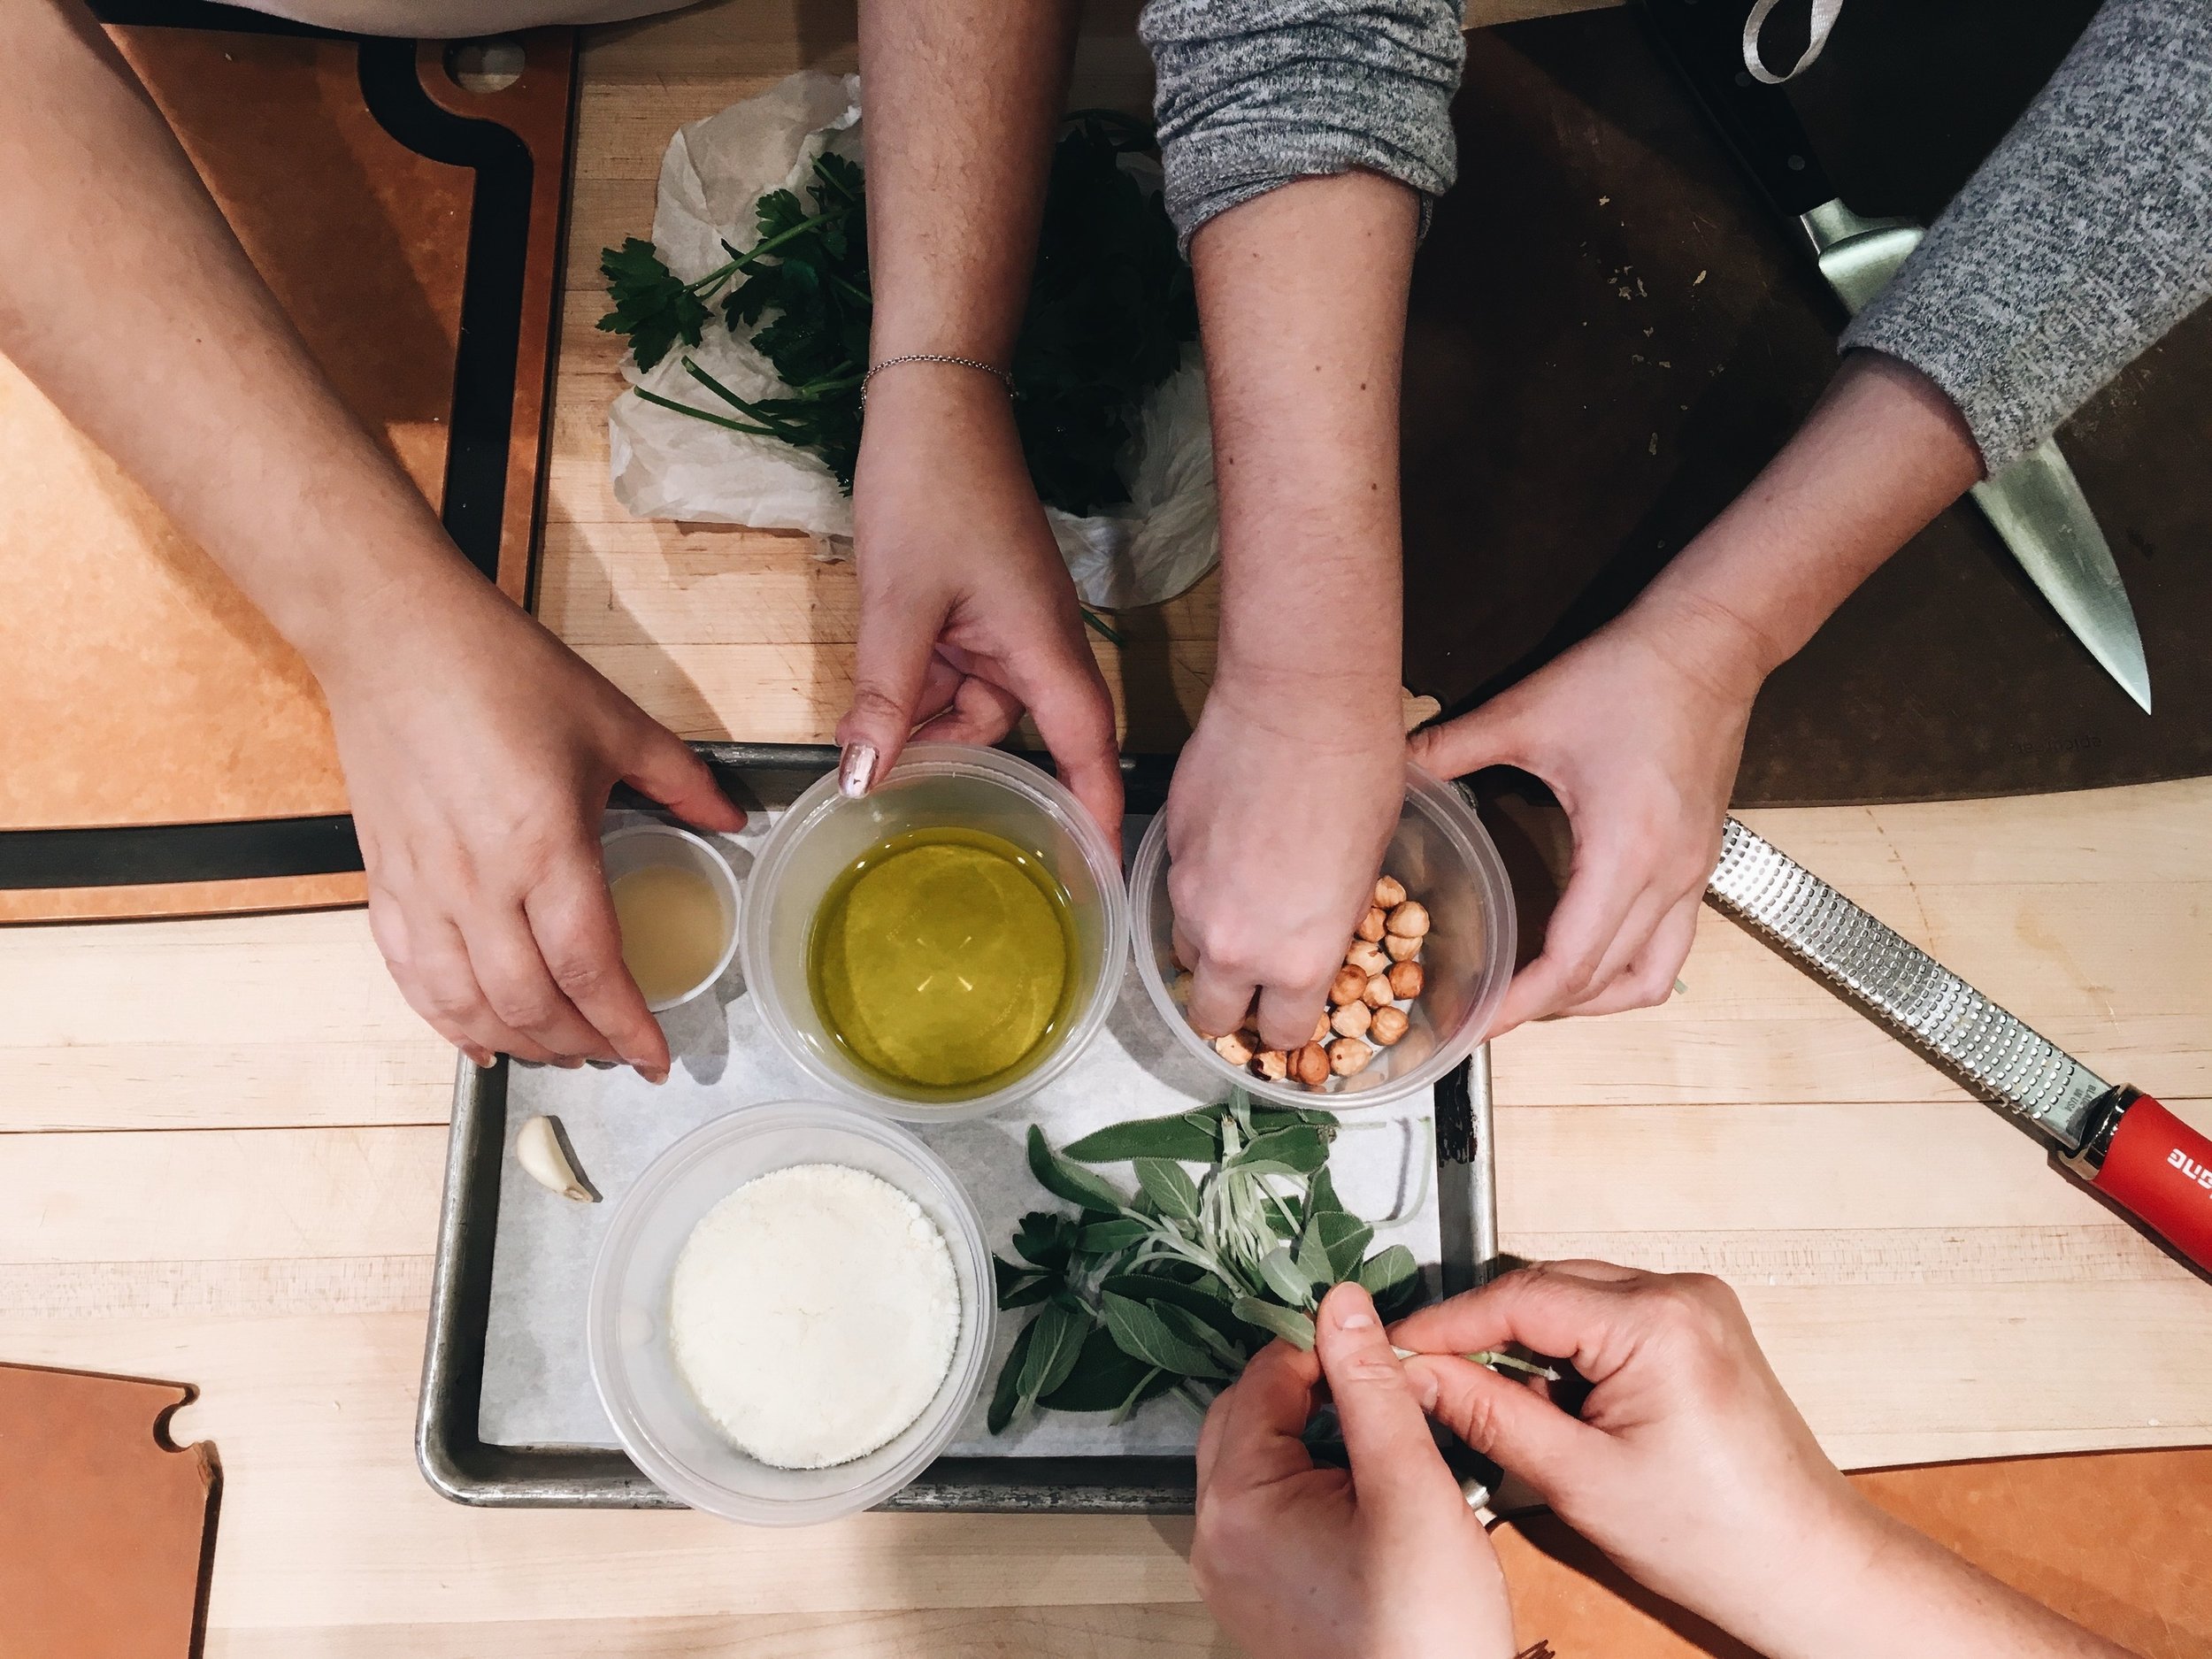
My mom and I along the years have acquired a lot of pasta equipment, from attachments for our Cuisinart, ravioli molds, to manual pasta machines, so it was about time we learned how to make fresh pasta!

So, two years ago, my mom and I ventured into the unknown and took a pasta making class at Sur La Table in NYC.

Homemade pasta is something that you usually watch chefs make on TV or eat it at an Italian restaurant. It's one of those dishes that home cooks, I think, stray away from, because of how much work and skill we think it requires making.

Reading the recipe on its own may seem overwhelming, but going through step by step with an instructor explaining why and how this works, really took my worries away.

The best thing I’ve learned is to BE PATIENT! Read the recipe, reread it, prep and go through each step with calm and confidence.

During the class, we both were shocked on how simple and easy it really was to make fresh pasta and were so excited to finally put all our tools into good use!

We have made this pasta recipe for many occasions since then, and every time it came out with great success!

Soon I will be posting a few more daring pasta recipes, maybe even a few colored ones!

mom & me making pasta
3AA2CF83-6B8D-416D-A805-0CC7D32712C5.JPG
FRESH PASTA3
FRESH PASTA 2
 
FRESH PASTA
 

Ingredients

  • 2½ cups (12½ ounces) "00" flour, plus more for dusting

  • 1 teaspoon kosher salt

  • 4 large eggs

  • 1 tablespoon extra-virgin olive oil

Recipe

  1. Fresh pasta dough is so easy to make, you’ll wonder why you never did before. If you can find Italian "00" flour, use it to make very delicate, yet chewy pasta. If not, bread flour works really well.

  2. To make dough: Place flour and salt in a large mixing bowl and whisk to combine. Make a "well" in the center of the flour mixture and add eggs and oil. Using your fingers, blend the eggs into the flour mixture, stirring the flour in from the sides of the well and working outwards. When the pasta dough is thoroughly mixed, turn it out on a lightly floured work surface. Knead dough until it is smooth and flexible but not sticky, adding small amounts of flour as needed; about 5 minutes. Shape the dough into a ball and flatten into a disk. Cover with plastic wrap and allow to rest for at least 20 minutes or up to an hour at room temperature.

  3. To roll dough: Secure a pasta machine to the edge of a long countertop. Using a bench scraper, cut the dough into three pieces. Keep extra dough covered in plastic wrap while working with one piece. With a rolling pin, roll the piece of dough into a rough rectangle so that it will fit inside the widest setting of the pasta machine. Roll the dough through the machine, catching it with one hand as you roll with the other. Take the dough and trifold it like a letter. Turn the dough so one open end faces the machine and roll it through on the widest setting again. Fold, turn, and roll once more on the widest setting.

  4. Continue rolling the pasta through the machine without folding, adjusting the rollers to a smaller setting each time, until the desired thickness is reached. If the pasta sheet becomes too large to handle, use a bench scraper to cut it into more manageable lengths and continue rolling.

  5. Cut sheets to desired shapes and sizes, toss with semolina flour and set aside covered with a clean kitchen towel. The pasta can be cooked immediately or covered with plastic wrap and refrigerated for up to 24 hours before use.

  6. To cook pasta: Heat a large pot of water over high heat until boiling. Generously season water with salt. Add pasta and stir immediately to prevent the strands from sticking together. Boil until al dente, 2 to 3 minutes. Reserve about a cup of pasta water and drain pasta through a colander. Toss hot pasta with your sauce of choice, using reserved pasta water to thin the mixture and coat the pasta as needed. Garnish as desired and serve immediately.

    Recipe taken from Sur La Table’s Cooking Classes