Fresh Pasta Dough

My mom and I along the years have acquired a lot of pasta equipment, from attachments for our Cuisinart, ravioli molds, to manual pasta machines, so it was about time we learned how to make fresh pasta!

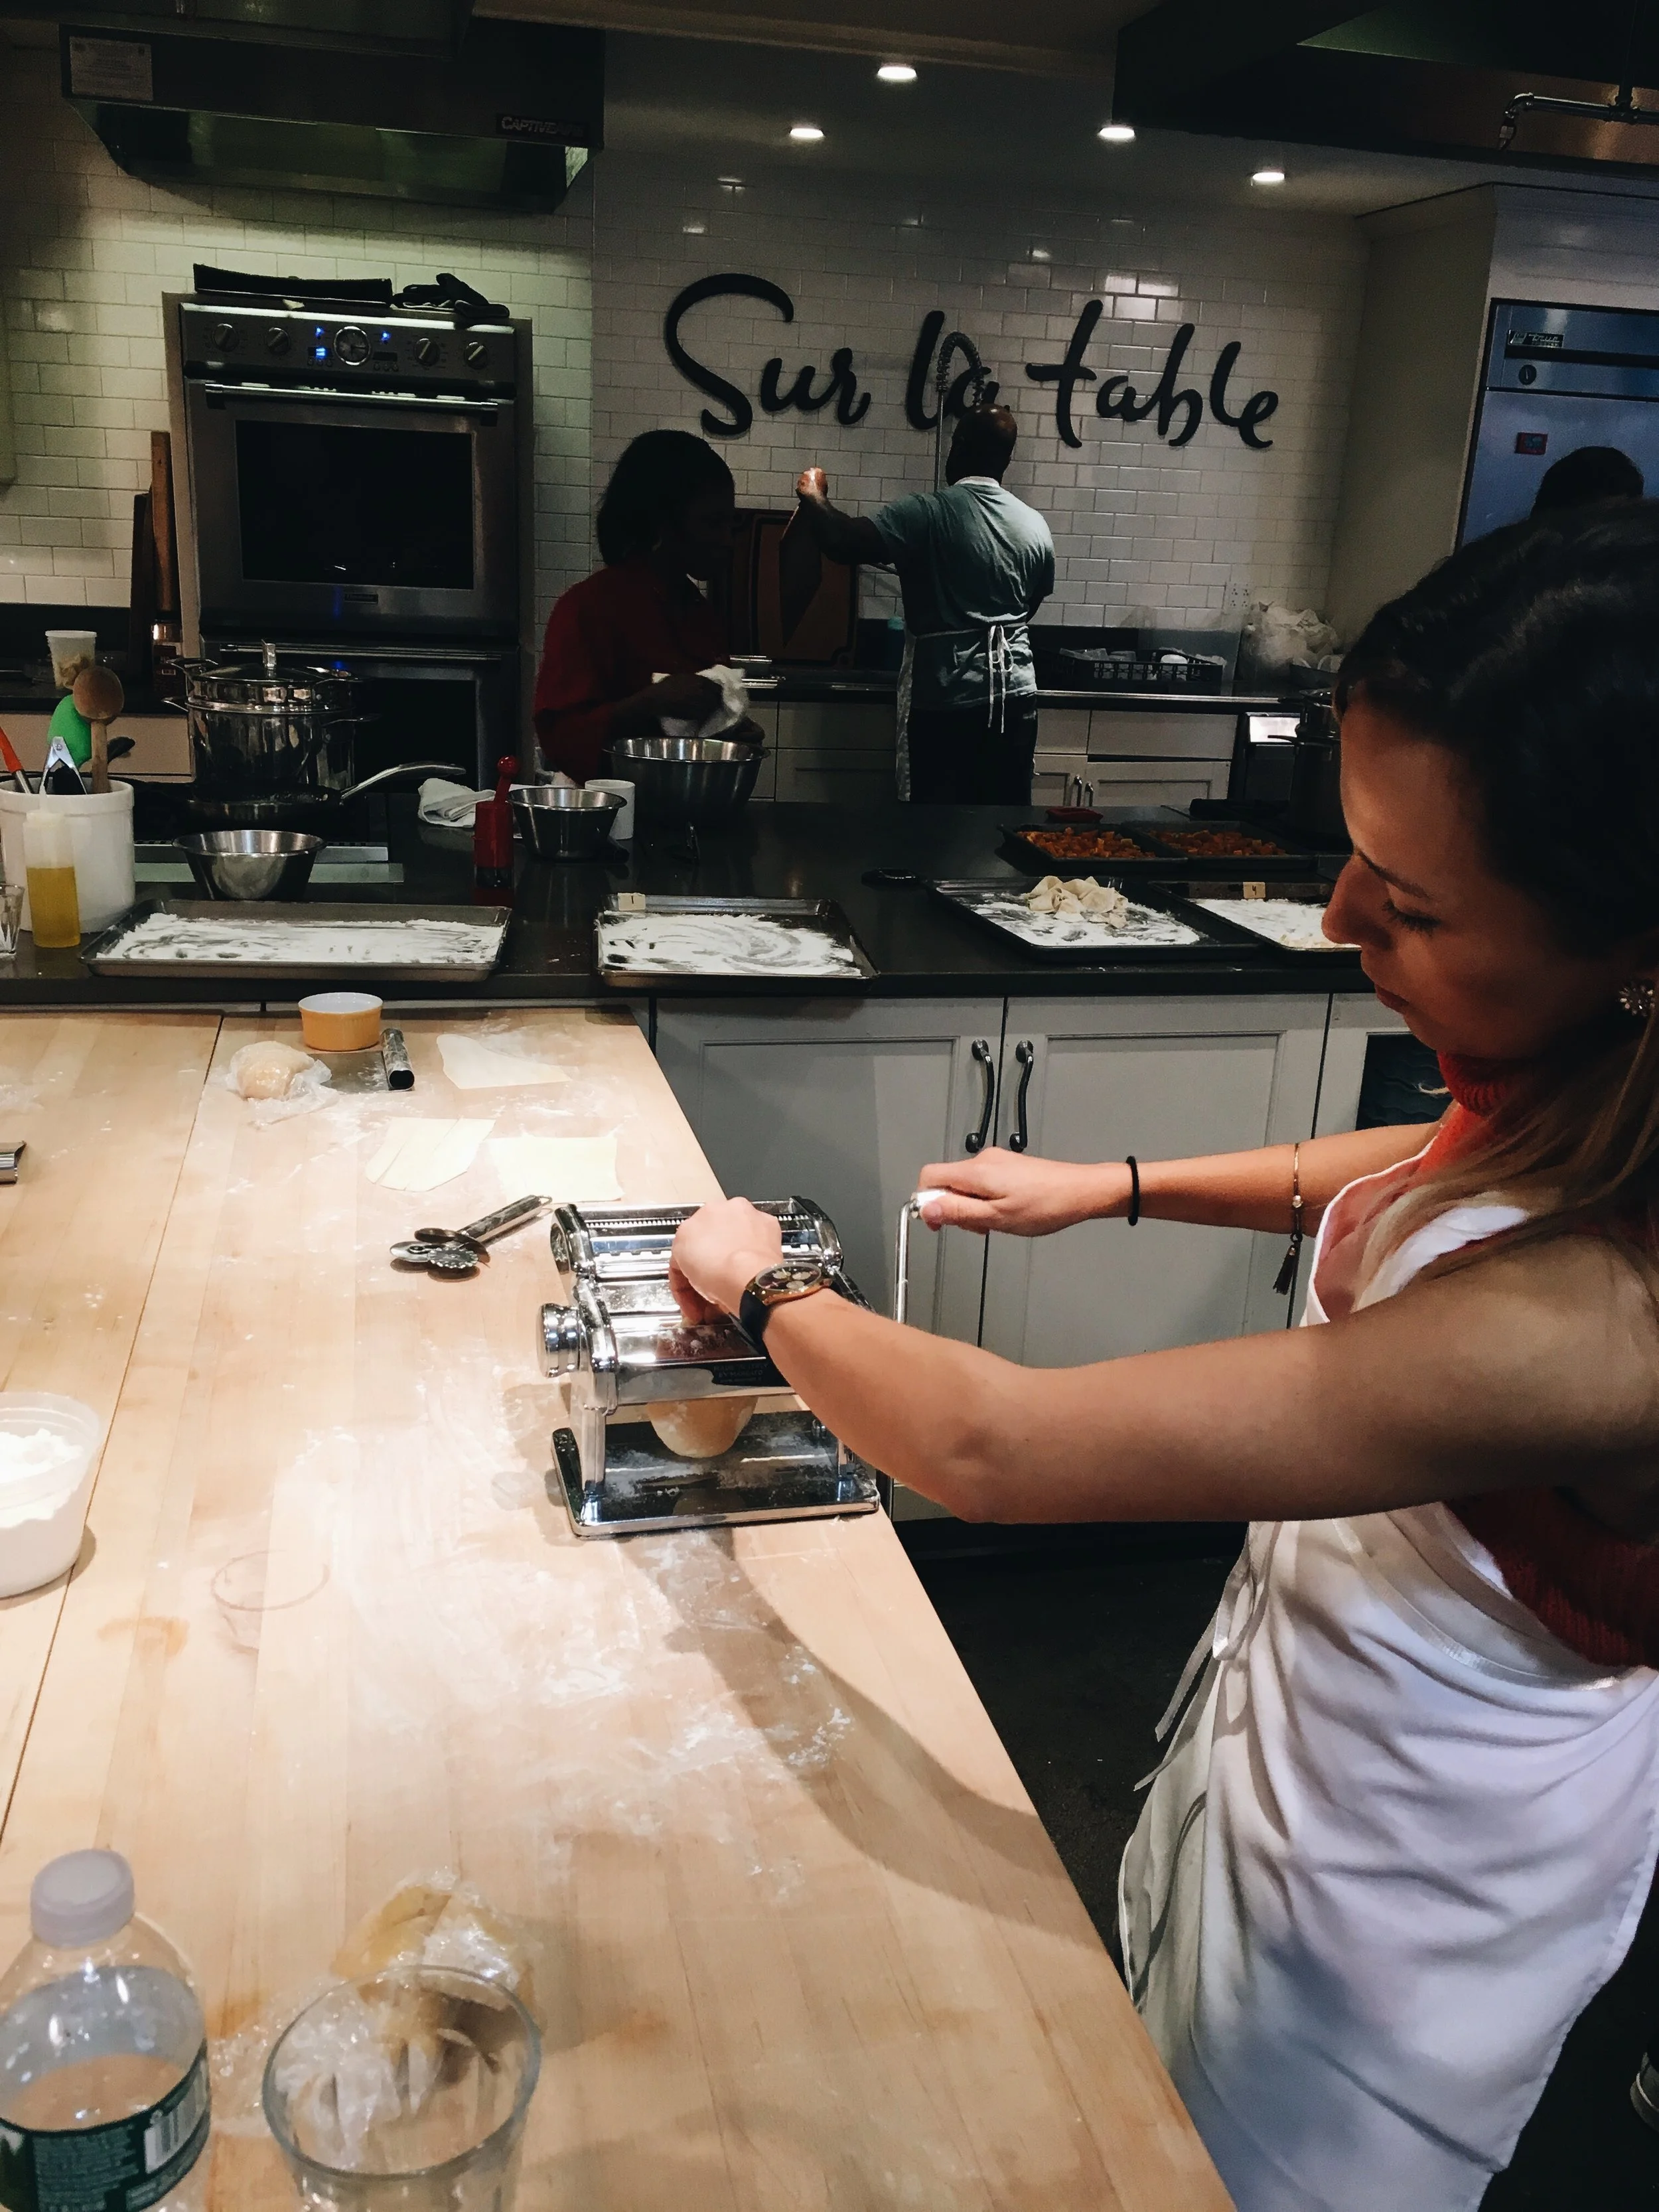
So, two years ago, my mom and I ventured into the unknown and took a pasta making class at Sur La Table in NYC.

Homemade pasta is something that you usually watch chefs make on TV or eat it at an Italian restaurant. It's one of those dishes that home cooks, I think, stray away from, because of how much work and skill we think it requires making.

Reading the recipe on its own may seem overwhelming, but going through step by step with an instructor explaining why and how this works, really took my worries away.

The best thing I’ve learned is to BE PATIENT! Read the recipe, reread it, prep and go through each step with calm and confidence.

During the class, we both were shocked on how simple and easy it really was to make fresh pasta and were so excited to finally put all our tools into good use!

We have made this pasta recipe for many occasions since then, and every time it came out with great success!

Soon I will be posting a few more daring pasta recipes, maybe even a few colored ones!

mom & me making pasta
3AA2CF83-6B8D-416D-A805-0CC7D32712C5.JPG
FRESH PASTA3
FRESH PASTA 2
 
FRESH PASTA
 

Ingredients

  • 2½ cups (12½ ounces) "00" flour, plus more for dusting

  • 1 teaspoon kosher salt

  • 4 large eggs

  • 1 tablespoon extra-virgin olive oil

Recipe

  1. Fresh pasta dough is so easy to make, you’ll wonder why you never did before. If you can find Italian "00" flour, use it to make very delicate, yet chewy pasta. If not, bread flour works really well.

  2. To make dough: Place flour and salt in a large mixing bowl and whisk to combine. Make a "well" in the center of the flour mixture and add eggs and oil. Using your fingers, blend the eggs into the flour mixture, stirring the flour in from the sides of the well and working outwards. When the pasta dough is thoroughly mixed, turn it out on a lightly floured work surface. Knead dough until it is smooth and flexible but not sticky, adding small amounts of flour as needed; about 5 minutes. Shape the dough into a ball and flatten into a disk. Cover with plastic wrap and allow to rest for at least 20 minutes or up to an hour at room temperature.

  3. To roll dough: Secure a pasta machine to the edge of a long countertop. Using a bench scraper, cut the dough into three pieces. Keep extra dough covered in plastic wrap while working with one piece. With a rolling pin, roll the piece of dough into a rough rectangle so that it will fit inside the widest setting of the pasta machine. Roll the dough through the machine, catching it with one hand as you roll with the other. Take the dough and trifold it like a letter. Turn the dough so one open end faces the machine and roll it through on the widest setting again. Fold, turn, and roll once more on the widest setting.

  4. Continue rolling the pasta through the machine without folding, adjusting the rollers to a smaller setting each time, until the desired thickness is reached. If the pasta sheet becomes too large to handle, use a bench scraper to cut it into more manageable lengths and continue rolling.

  5. Cut sheets to desired shapes and sizes, toss with semolina flour and set aside covered with a clean kitchen towel. The pasta can be cooked immediately or covered with plastic wrap and refrigerated for up to 24 hours before use.

  6. To cook pasta: Heat a large pot of water over high heat until boiling. Generously season water with salt. Add pasta and stir immediately to prevent the strands from sticking together. Boil until al dente, 2 to 3 minutes. Reserve about a cup of pasta water and drain pasta through a colander. Toss hot pasta with your sauce of choice, using reserved pasta water to thin the mixture and coat the pasta as needed. Garnish as desired and serve immediately.

    Recipe taken from Sur La Table’s Cooking Classes

Arroz de Grelos (Broccoli Rabe Rice)

There will always be those dishes that the slightest smell or taste brings you right back to childhood. While some might be as simple as a soup or sandwich, mine is Arroz de Grelos, (Broccoli rabe rice).

I know, not your first guess ,but this particular dish is one that from as far as i can remember my mom always made.

I think mostly the memories are so strong because as a kid I was not that big of a fan of this dish. I knew the moment my mom began to boil that broccoli rabe that I would not be happy with the dinner choice.

But of course, as you get older, your taste for certain foods change, and i'm happy to report that i am now a BIG broccoli rabe fan!

A little bit of background on broccoli rabe.. it is a member of the brassica family which is known for being a vegetable family that is packed with all sorts of nutrients, like zinc, potassium, calcium, folate and vitamins A, C and K. ( no wonder my mom made it so much)

The combination of the fluffy rice with the bitterness of the broccoli rabe pairs well with any meat or even a pan fried fish, which is what i grew up eating it with!

Arroz de Grelos (Broccoli Rabe Rice)

Ingredients

  • 1 cup of white rice

  • 1 bunch of broccoli rabe

  • 1 large onion

  • ¼ cup of olive oil

  • 2 garlic cloves

  • 3 cups of boiling water

  • Salt & Pepper

Recipe

  1. Wash the greens and roughly chop them. Peel the onion and garlic and chop finely.

  2. Heat a medium saucepan, saute the onion in the olive oil until translucent. Stir in the garlic and greens and cook until tender.

  3. Add the rice and mix well.

  4. Add the boiling water, season with salt and pepper and allow to boil again.

  5. Cover the pan, reduce the heat and simmer until the rice is cooked around 20 minutes.

Pasteis de Bacalhau (Cod fish fritters)

Pasteis de Bacalhau (Cod fish fritters)

Pasteis de Bacalhau are one of the most popular foods in traditional portuguese cuisine. Pasteis de Bacalhau ( Cod Fritters), are usually eaten as a snack or an appetizer. they are made with salted cod, potato, onion and lots of parsley, and if that didn't convince you yet… its fried!

These very popular fritters are seen and sold in every cafe around portugal, and even the portuguese cafes in the united states!

While it might be easier to buy some, nothing beats homemade Pasteis de Bacalhau! They are very simple to make and i promise it's worth dealing with the smell of cod fish for a few days..

Pasteis de Bacalhau can be eaten as an accompaniment to a delicious plate of rice, like this one.

Apple Galette

Happy Fall!

Nothing screams Fall more than the smell of a nice apple dessert coming out of the oven! This apple galette is one of my go to recipe because of how delicious and effortless it is to make.

It's one of the simplest desserts to make, thanks to store bought puff pastry! During the holidays, we are all scrambling to make so many dishes that this recipe is a great substitute for when an apple pie is just too much to make!

From the golden pastry crust, to the warm spiced apples in the center, you won’t even think twice about the missing apple pie!

This galette is perfect to make when apples are in season ,but is also great when made with pears, and even stone fruit!

Apple Galette
Apple Galette 2

Ingredients

  • 1 sheet frozen puff pastry, thawed

  • 2 - 3 large apples, peeled and sliced

  • 2 Tbsp. all-purpose flour

  • 1/4 cup packed light or dark brown sugar

  • 1 tsp. ground cinnamon

  • ¼ tsp. ground nutmeg

  • 2 tsp. fresh lemon juice

  • 1 egg, lightly beaten

  • 2 tbsp. muscovado sugar

Recipe

  1. Preheat the oven to 425 degrees F.

  2. On a lightly floured work surface, roll out the puff pastry into a 12-inch circle. Transfer to a parchment paper lined sheet pan.

  3. In a medium sized bowl, toss the peeled, cored and sliced apples with lemon juice, flour, sugar, and spices. Toss until all the apples are coated.

  4. To assemble, arrange the apple slices evenly in the middle of the dough, leaving a border.

  5. Fold edges of dough over filling, tucking and overlapping as needed.

  6. Beat the egg, and brush the crust with the egg wash, and sprinkle the muscovado sugar over the egg wash.

  7. Bake for 25 minutes, until the crust is golden brown.

  8. Serve with ice cream


Salted Walnut Chocolate Blondies

Blondies are having a big moment in my kitchen right now. They are great for a quick sweet treat and also a great portable dessert that serves a crowd! What I like most about these blondies is how versatile they are. I am a fan of both chocolate and nuts in my dessert, but for those who think putting nuts in blondies or brownies is a sin, feel free to omit them. These blondies are a great balance of salty/sweet, the sweetness of the brown sugar and chocolate is cut by the flakey sea salt in and on top of these blondies!

 
Walnut Chocolate Blondies
 
 
Walnut Chocolate Blondies 2
 
 
Walnut Chocolate Blondies 3
 

Ingredients 

  • 2 cups of all- purpose flour

  • 2 sticks of unsalted butter, melted

  • 2 cups brown sugar

  • 1 ½ tsp. baking powder

  • 1 tsp. coarse sea salt, plus more for garnish

  • 1 tbsp. vanilla extract

  • 2 eggs, room temperature

  • 4 oz. bittersweet chocolate, chopped

  • ½ cup of toasted walnuts, chopped

Recipe

  1. Preheat the oven to 350 degrees F. Butter a 9-by-13-inch baking pan, and line the pan with parchment leaving an overhang, and butter parchment paper.

  2. Whisk the flour, baking powder and salt together in a medium bowl and set aside.

  3. In another bowl, whisk the melted butter, and brown sugar until combined. Add the vanilla and eggs. Whisk until combined.

  4. Fold the flour mixture into the wet ingredients. Do not overmix.

  5. Fold in the toasted walnuts and chocolate.

  6. Pour the batter into the prepared pan. Using an offset spatula, smooth the batter into an even layer and sprinkle with coarse sea salt.

  7. Bake for 20-25 minutes, until golden brown. Allow to completely cool before cutting.